How to make basic wax melts.
How to make basic wax melts, a beginners guide.
Wether you want to create wax melts for your own use, to give as gifts or launch your own business, this guide should be able to help you get started with the basics.
What you will need:
- Wax
- Fragrance oil
- Decorations, dyes, mica powder, glitter
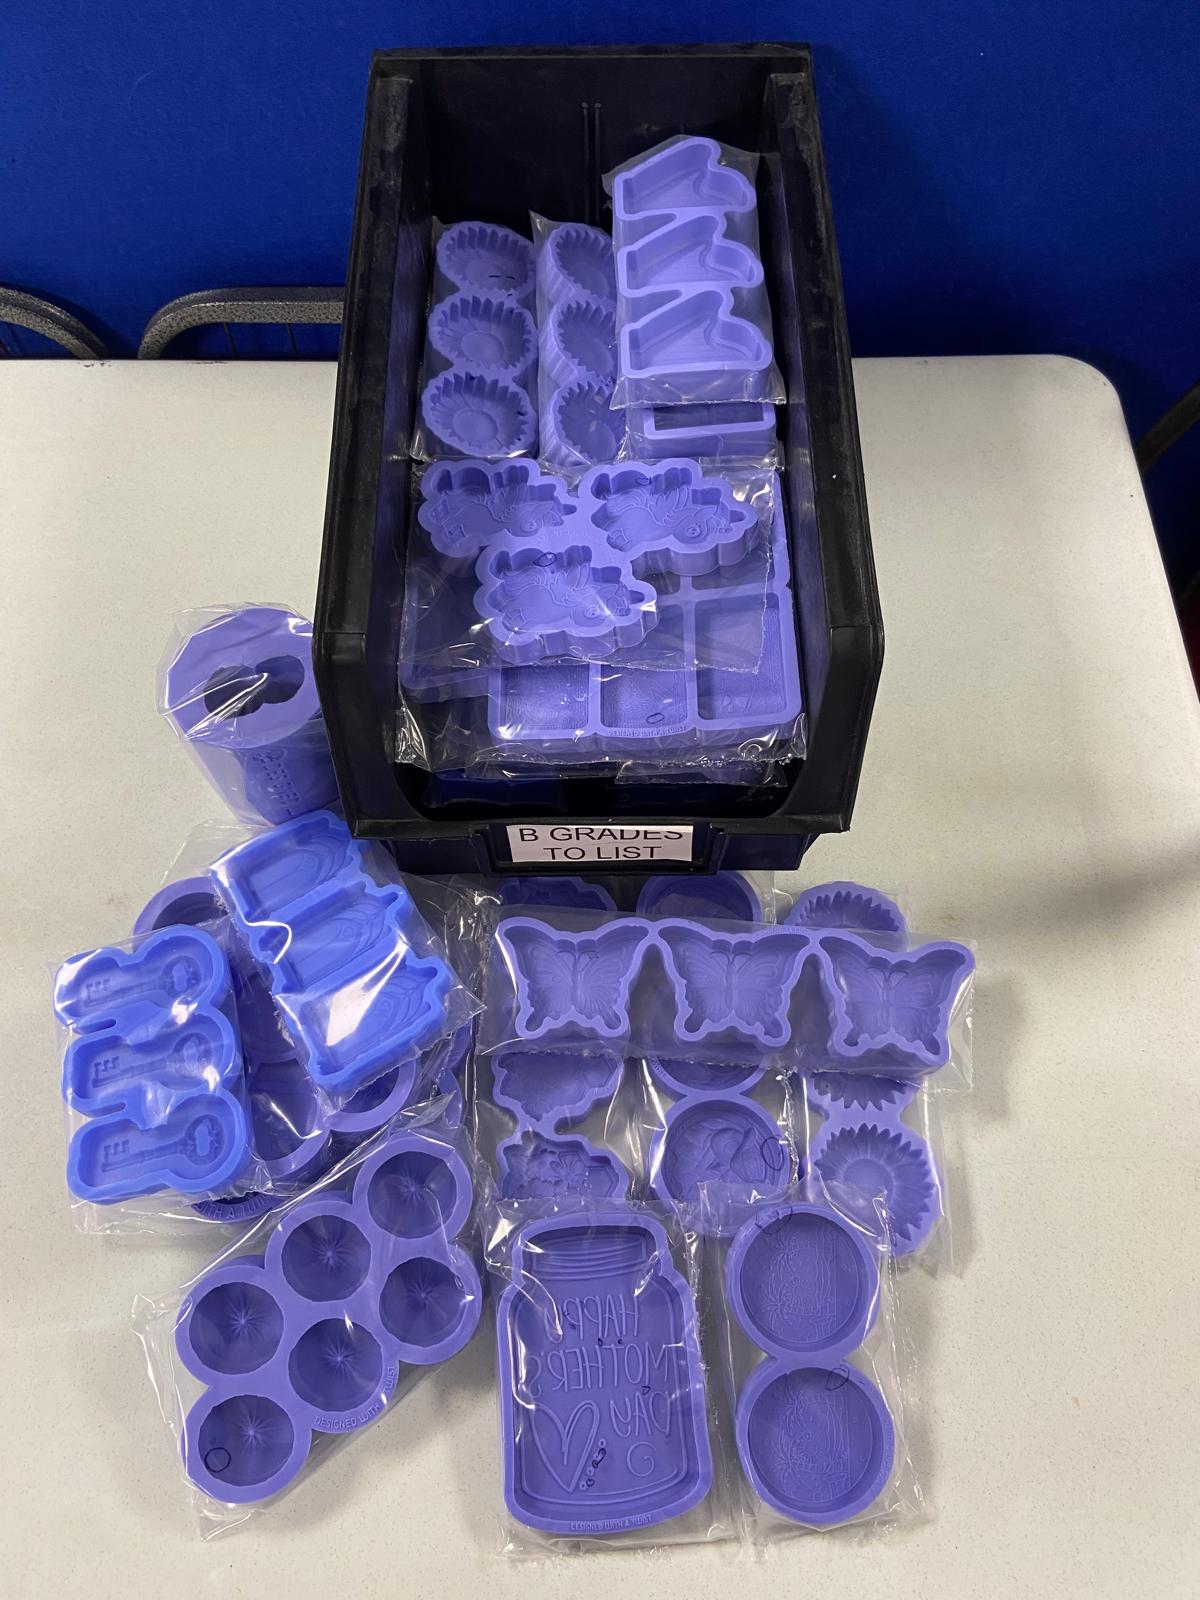
- Moulds, either silicone or plastic clamshells.
- A way to melt you wax
- A vessel(s), capable of holding the melted wax.
- Thermometer
- Stirrer, long enough to reach the bottom of your chosen vessel without putting your fingers too close to the hot wax.
- Scales. that can measure small quanitities acurately.
We also recommend a hot air gun as this can aid in pre heating vessels and moulds, and also aid in keeping wax hot while working on more complicated designs.
Step 1: Prepare Your Work Area
- Ensure your workspace is clean and covered with newspaper, parchment paper or wax paper to catch any spills.
- Gather all your materials and tools.
Step 2: Measure the Wax
- Use a measuring scale to weigh the desired amount of wax. In the Corinne is working with 200 grams (7.05oz)
Step 3: Melt the Wax
- Place the wax in a wax melting pot or a double boiler setup.
- Heat the wax slowly over medium heat, stirring occasionally, until it is fully melted. This usually takes about 10-15 minutes.
Step 4: Monitor Temperature
Always refer to you wax manufactures instructions on tempratures as differnent waxes can have very different temprature requirements. In this video ECOCOCO was used and these are the temprature we found work best.
- Use a thermometer to monitor the temperature of the melted wax. The ideal pouring temperature for wax we used is usually between 65°C to 70°C (149°F to 158°F).
- Once the wax reaches around 90°C (194°F) remove it from the heat source. this gives you a little time to work, and allows for the cooler dyes and fragrance etc to ber added.
NOTE: There are lots of factors that can effect the wax melting and setting behavior including, altitude, weather and room temprature. So you may need to experiment a little to get your desired results.
Step 5: Add Dye, Glitter and Mica powder (Optional)
- If you want to colour your wax melts, add a small amount of wax dye, glitter or mica or any combination to the melted wax and stir thoroughly.
Step 6: Add Fragrance Oil
- Add fragrance oil (in the video Corinne used 10% or 20g, this was split over the two seperate colours resulting in 10g for each colour ) and stir thoroughly to ensure the oil is evenly distributed.
Top Tip: Pour the fragrance oil down your stirrer for more control. (as shown in the video)
Step 7: Pour the Wax into Moulds
- Carefully pour the scented and colored wax into silicone molds. If using a dropper, you can use it to transfer the wax more precisely into smaller molds.
Top Tip: Preheating the moulds can help the wax flow into the smaller details.
Step 8: Let the Wax Cool and Set
- Allow the wax to cool and harden completely in the molds. This can take a few hours at room temperature. Do not move the molds until the wax has fully set to avoid any cracks or dents.
Step 9: Remove Wax Melts from Moulds
- Once fully hardened, gently pop the wax melts out of the silicone molds.


